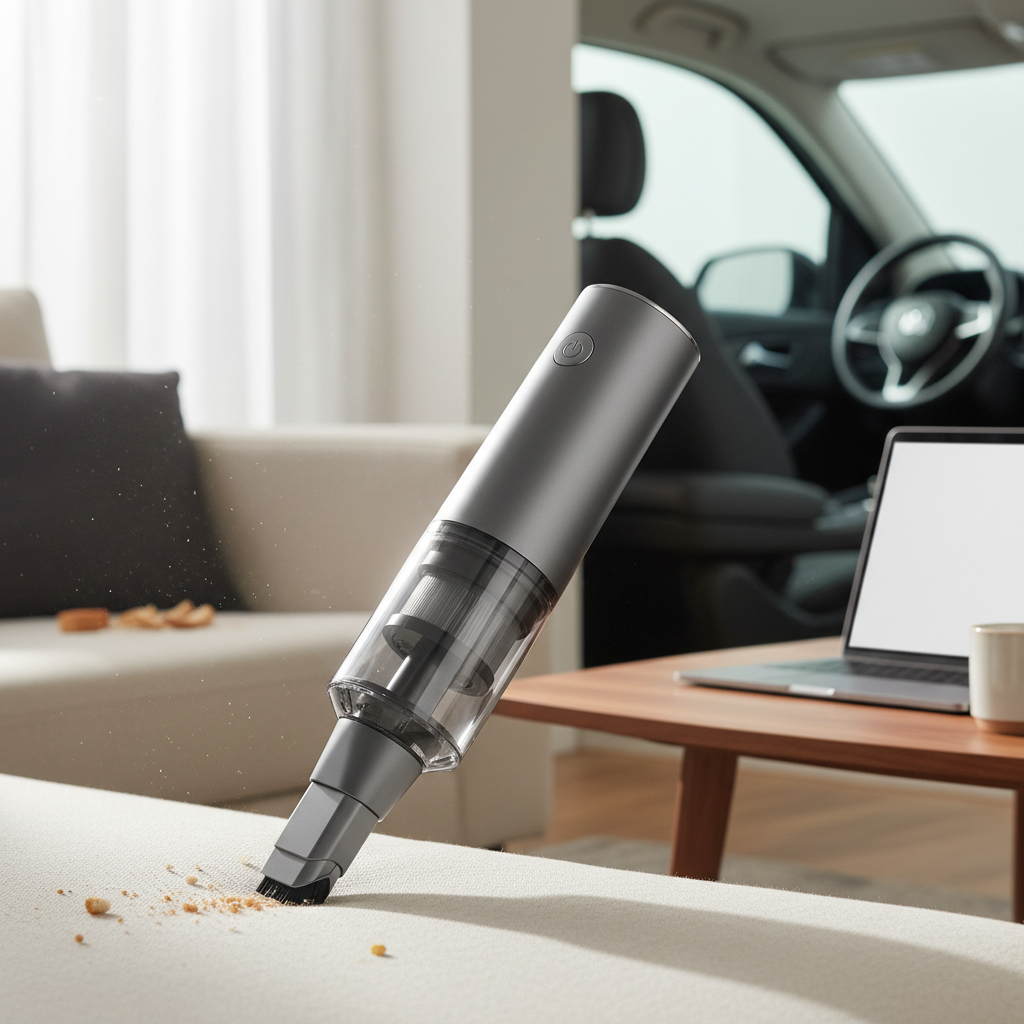
Have you ever found your trusty handheld vacuum suddenly losing its powerful suction, turning a quick clean-up into a frustrating chore? The most common culprit is often a clogged nozzle, hindering your device’s efficiency and overall performance. Understanding how to safely and effectively clear these blockages is crucial for maintaining your handheld vacuum and extending its lifespan. This comprehensive guide will walk you through identifying, unclogging, and preventing future obstructions, ensuring your vacuum operates at its peak.
Understanding Handheld Vacuum Nozzle Clogs and Their Causes
A nozzle clog occurs when debris obstructs the airflow pathway at the vacuum’s tip, leading to a noticeable reduction in suction power. This can transform your quick cleaning tool into a weak, inefficient device. Several common culprits are responsible for these frustrating blockages. Long hair, pet fur, and lint are frequent offenders, easily getting tangled and accumulating inside the nozzle. Larger items like small pieces of paper, crumbs, or even tiny toys can also become lodged, creating an immediate blockage. Over time, fine dust and dirt can build up, especially if the vacuum is not regularly emptied or cleaned, further contributing to the problem. Unusual noises, coupled with diminished suction, are clear indicators that your handheld vacuum might be experiencing a clog.
Essential Tools for Safe Nozzle Unclogging
Approaching a clogged vacuum requires the right tools and a commitment to safety. Before you begin, always prioritize your safety by disconnecting the vacuum from its power source – unplugging it if corded, or removing the battery if it’s a cordless model. Wearing gloves can protect your hands from dust and sharp debris. For visual inspection, a small flashlight is invaluable for peering into dark corners of the nozzle and hose. To physically remove clogs, a pair of long tweezers or needle-nose pliers can effectively grab visible debris. For deeper blockages, a straightened wire coat hanger or a long, flexible brush designed for cleaning narrow spaces can be helpful, but exercise caution to avoid puncturing the hose. A small brush can assist in cleaning any residue once the main obstruction is cleared. In some cases, a screwdriver might be necessary if your vacuum model requires partial disassembly to access the clogged area.
Step-by-Step Guide to Safely Unclog Your Handheld Vacuum Nozzle
Effectively clearing a clogged handheld vacuum nozzle involves a systematic and careful approach. Follow these steps to restore your vacuum’s suction power safely.
1. Safety First: Disconnect Power
|
Our Picks for the Best Handheld vacuum cleaner in 2026
As an Amazon Associate I earn from qualifying purchases.
|
||
| Num | Product | Action |
|---|---|---|
| 1 | BLACK+DECKER dustbuster Cordless Handheld Vacuum, Portable Vacuum for Car and Home Rechargeable, Powerful Suction, Wide Mouth (HHVI315JO42) |

|
| 2 | MONOZEL Car Vacuum Portable Cordless, 18000Pa 2 in 1 Vacuum Cleaner&Air Duster, 130W Brushless Motor Handheld Vacuum Cordless with 7800mAh Battery, LED Light, Multi-Nozzles for Car, Home, Office, Pet |
|
| 3 | Bissell Pet Hair Eraser Cordless Hand Vacuum, Lithium Ion, Home, Auto, and Pet Vacuum, Easy-Empty Dirt Bin, Upholstery Tool, Brush Tool, and Crevice Tool Included, 2390A |
|
| 4 | Gxzsk Handheld Vacuum Cordless, 15000PA Strong Suction Hand Held Car Vacuum Cleaner Rechargeable, Portable Hand Vacuum with Multi-Nozzles & Washable Filter for Home Office, Car, Pets |
|
| 5 | BLACK+DECKER dustbuster AdvancedClean Handheld Vacuum Cordless, Compact Home and Car Vacuum with Crevice Tool, Rotating Nozzle and Charging Station, Large Dust Bowl (CHV1410L) |
|
| 6 | CKIKH Handheld Vacuum Cordless, 15000PA Strong Suction Hand Held Car Vacuum Cleaner Portable with Multi-Nozzles & Washable Filter, Lightweight Rechargeable Vacuum Cleaner for Home, Car, Office, Pets |
|
| 7 | BLACK+DECKER dustbuster Cordless Handheld Vacuum, Portable Car Vacuum Cordless Rechargeable, Wall Mount, Strong Suction QuickClean (HNVC215B10) |
|
| 8 | Handheld Vacuum Cordless, Car Vacuums Powerful with Rechargeable Battery, Portable Hand Held Vacuum Cordless with Washable HEPA Filter, Mini Vacuums Kit for Men and Women |
|
| 9 | Handheld Vacuum Cleaner, 28000Pa Brushless Motor Cordless Car Vacuum Cleaner, 3-Speed Mini Hoovers with Multiple Brush Heads Hand Held Vacuum Cordless for Office, Home, Kitchen, Car, Pet Hair |
|
| 10 | KMM Handheld Car Vacuum Cleaner, 9000Pa Vacuum Cleaner and Air Duster, 120W High Power Hand Held Vacuum with LED Light and Multi-Nozzles for Car, Home, Office, Pet |
|
Before attempting any maintenance or inspection, it is paramount to ensure your handheld vacuum is completely disconnected from its power source. For corded models, unplug the power cord from the wall outlet. For cordless vacuums, remove the battery pack. This critical step prevents accidental activation, which could lead to injury.
2. Empty the Dust Bin and Check Filters
A full dust bin or a dirty filter can significantly reduce suction and often mimic a clog. Begin by emptying your handheld vacuum’s dust bin completely. Many models also have washable filters that should be rinsed under cold water until clear, then allowed to air dry for at least 24 hours before reinserting. Ensure both the bin and filter are clean and dry before proceeding.
3. Inspect the Nozzle Visually
With the power disconnected and the dust bin empty, carefully inspect the nozzle opening. Use a flashlight to illuminate the interior and look for any visible debris, such as hair, lint, or larger particles that may be stuck.
4. Remove Visible Debris Gently
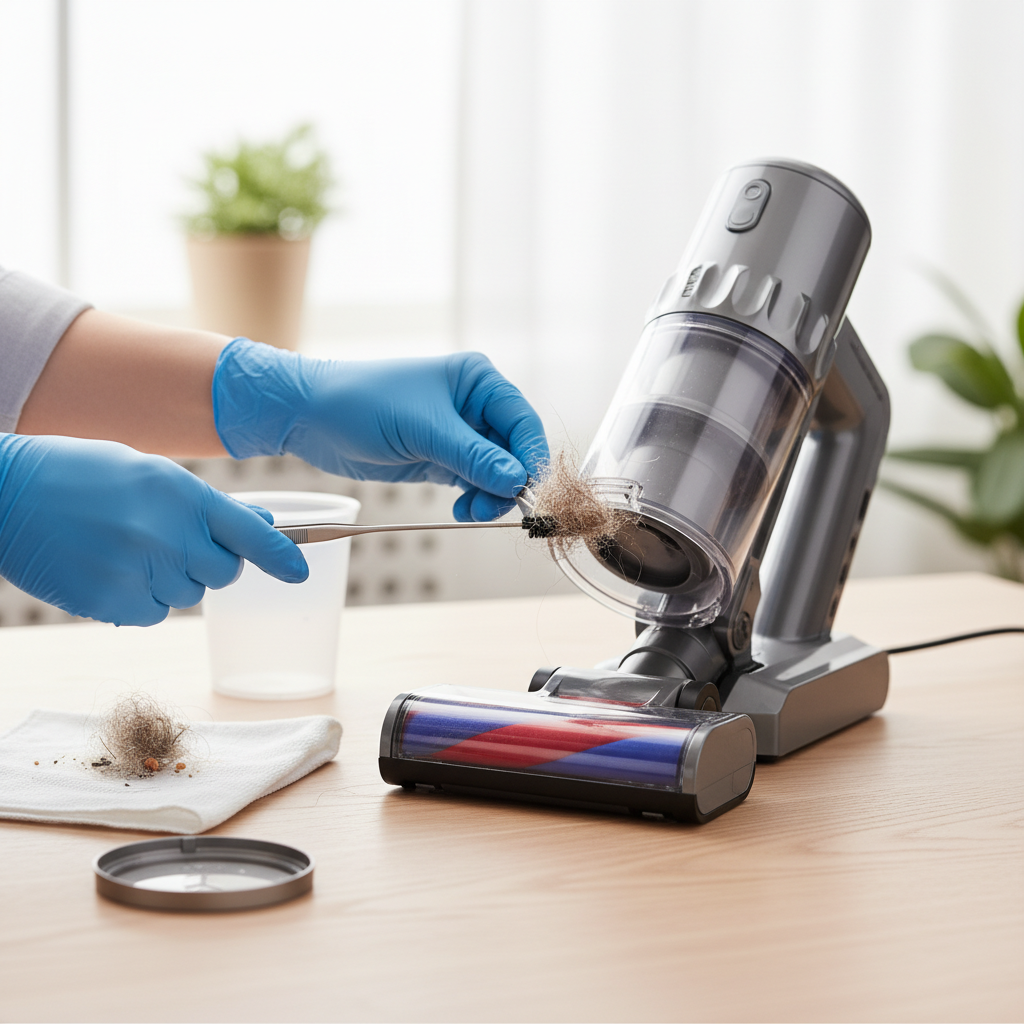
If you spot any obstructions close to the nozzle opening, use long tweezers or needle-nose pliers to gently grasp and pull them out. Avoid pushing the debris further into the vacuum, as this could worsen the clog.
5. Utilize a Flexible Tool for Deeper Clogs
For blockages that are further out of reach, a straightened wire coat hanger (with a small hook bent at the end) or a flexible cleaning brush can be used. Carefully feed the tool into the nozzle, gently probing to dislodge the clog. The aim is to pull the debris back out, not push it deeper into the vacuum’s internal components. Some sources suggest using a broomstick for larger hoses, but for handheld nozzles, a thinner, more flexible tool is usually better.
6. Check the Hose and Attachments
Sometimes, a clog in the nozzle might be a symptom of a larger obstruction further back in the vacuum’s hose or attachments. Disconnect any detachable nozzles or hoses and inspect them separately. Look for signs of reduced airflow or accumulated debris within these components.
7. Clean the Nozzle Thoroughly
Once the main blockage is removed, use a small brush or a damp cloth to clean any remaining residue or accumulated dust from the inside and outside of the nozzle. This ensures smooth airflow and prevents minor buildup from escalating into a new clog.
8. Reassemble and Test
Carefully reassemble all parts of your handheld vacuum, ensuring filters are correctly seated and the dust bin is securely attached. If your vacuum has a removable battery, reinsert it. Test the vacuum’s suction power to confirm the clog has been successfully cleared.
“Regular maintenance, especially checking for clogs in the nozzle and hose, is vital for any vacuum. Overlooking these simple steps can significantly reduce your vacuum’s effectiveness and shorten its lifespan.” – ReviewerBil.com Admin, Handheld Vacuum Expert
Preventing Future Handheld Vacuum Nozzle Clogs
Proactive maintenance is key to keeping your handheld vacuum’s nozzle clear and its suction strong. Develop a habit of regularly emptying the dust bin, ideally after every major use or when it reaches its fill line. Frequently cleaning or replacing filters according to the manufacturer’s recommendations is also crucial, as dirty filters severely restrict airflow. Avoid vacuuming large debris such as coins, small toys, or excessive amounts of paper, as these are primary causes of stubborn clogs. If you need to clean up larger items, it’s often better to pick them up manually first. Utilize the appropriate attachments for different cleaning tasks; for instance, a crevice tool is ideal for tight spaces and less prone to blockage than a wide nozzle when dealing with concentrated debris.
When to Seek Professional Help (or Consider Replacement)
While many nozzle clogs can be resolved with DIY methods, there are instances where professional intervention or even replacement might be necessary. If, despite your best efforts, the clog persists and your vacuum’s suction remains weak, it may indicate a deeper, more complex issue within the motor or internal ductwork. Persistent suction problems after clearing visible blockages could point to a leak in the hose or a damaged seal. If you attempt to clear a clog and inadvertently damage internal components or are unsure about disassembling parts of your vacuum, it’s safer to consult a qualified repair technician. For older models, the cost of professional repair might outweigh the price of a new handheld vacuum, making replacement a more economical option.
Conclusion
Maintaining a clear and functional handheld vacuum nozzle is essential for efficient cleaning and extending the life of your device. By understanding the common causes of clogs, using the right tools, and following a safe, step-by-step unclogging process, you can easily restore optimal suction. Regular maintenance, including emptying the dust bin and cleaning filters, is your best defense against future blockages. Don’t let a minor obstruction diminish your cleaning power; empower yourself with these tips to keep your handheld vacuum performing at its best. What are your go-to tips for vacuum maintenance?
Frequently Asked Questions
Why is my handheld vacuum losing suction even after I empty it?
If your handheld vacuum loses suction after emptying, the issue might be a clogged filter or an obstruction in the nozzle or hose that wasn’t immediately visible. Ensure your filter is clean and dry, and carefully inspect all pathways for hidden debris.
Can I use water to clear a nozzle clog?
Generally, it’s not recommended to use water directly in the vacuum’s nozzle for clogs, especially for the main unit, as it can damage electrical components. However, some removable hoses and washable filters can be rinsed with water, provided they are completely dry before reassembly.
How often should I clean my handheld vacuum’s nozzle?
It’s advisable to visually inspect your handheld vacuum’s nozzle after each use, especially if you’ve vacuumed up a lot of hair or debris. A thorough cleaning should be done as needed, or whenever you notice a reduction in suction power.
What if the clog is in the main body, not the nozzle?
If the clog isn’t in the nozzle, it could be in the hose, the brush roll, the dust bin’s entry point, or even a dirty filter. Systematically check each component, starting from the nozzle and working back towards the motor, to locate and clear the obstruction.
Is it safe to use chemical drain cleaners for vacuum clogs?
No, it is absolutely not safe to use chemical drain cleaners for vacuum clogs. These harsh chemicals can severely damage the plastic components of your vacuum, pose a significant health risk through fumes, and create dangerous reactions within the device. Always use mechanical methods for unclogging.