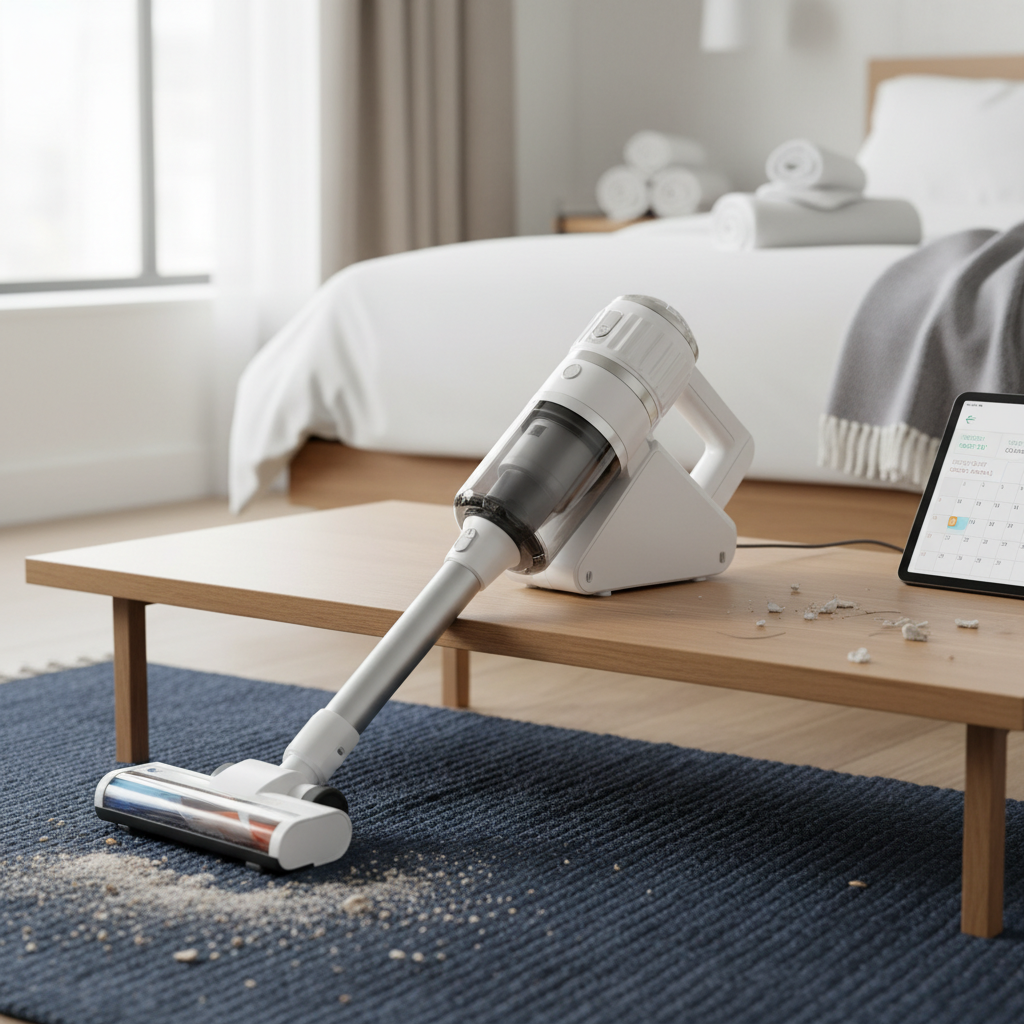
Does your handheld vacuum cleaner seem to be losing its powerful suction, leaving behind more dirt than it picks up? Often, the culprit isn’t a faulty motor, but a clogged foam filter. These unsung heroes trap dust and debris, preventing them from recirculating into your clean space or damaging the vacuum’s motor. Knowing how to properly wash these foam filters is crucial for maintaining peak performance and extending the life of your appliance. This guide will walk you through every step, ensuring your vacuum always runs like new.
Understanding Foam Filters in Your Handheld Vacuum
Foam filters are a common and highly effective component in many handheld vacuum cleaners. Their porous structure is designed to capture larger dust particles, pet hair, and other debris before they reach more delicate parts of the vacuum or exhaust into your room. In handheld models, their lightweight and washable nature make them ideal for the frequent maintenance often required due to the concentrated dirt collection. Before you begin any cleaning process, always consult your vacuum’s user manual to confirm your filter is indeed made of washable foam and to check for any specific manufacturer instructions.
Why Proper Foam Filter Maintenance Matters
Neglecting your foam filter can quickly lead to a noticeable decline in your vacuum’s performance. A clogged filter restricts airflow, forcing the motor to work harder and diminishing suction power. This not only makes cleaning less effective but can also lead to premature wear and tear on the motor. Regular cleaning, typically monthly for frequent users or every three months otherwise, is vital. It improves indoor air quality by trapping allergens and dust, prolongs your vacuum’s lifespan, and ensures it’s always ready to tackle messes with maximum efficiency.
Step-by-Step Guide: How to Wash Foam Filters Effectively
Keeping your foam filter spotless is a simple yet impactful task. Follow these steps for a thorough and effective wash:
- Safety First: Remove the Filter: Begin by unplugging your vacuum cleaner to ensure safety. Locate and carefully remove the foam filter from its compartment. Many designs allow for easy access, often with a simple twist or pull.
- Pre-Clean for Best Results: Take the filter to a trash can or outdoor area and gently tap it against the side to dislodge any loose dust, dirt, or hair. This initial step prevents excessive grime from entering your sink.
- Prepare Your Cleaning Solution: Fill a sink or a small bowl with lukewarm water. Add just two to three drops of mild dish soap or an all-purpose cleaner. Avoid using harsh detergents, bleach, or abrasive cleaners, as these can damage the foam material.
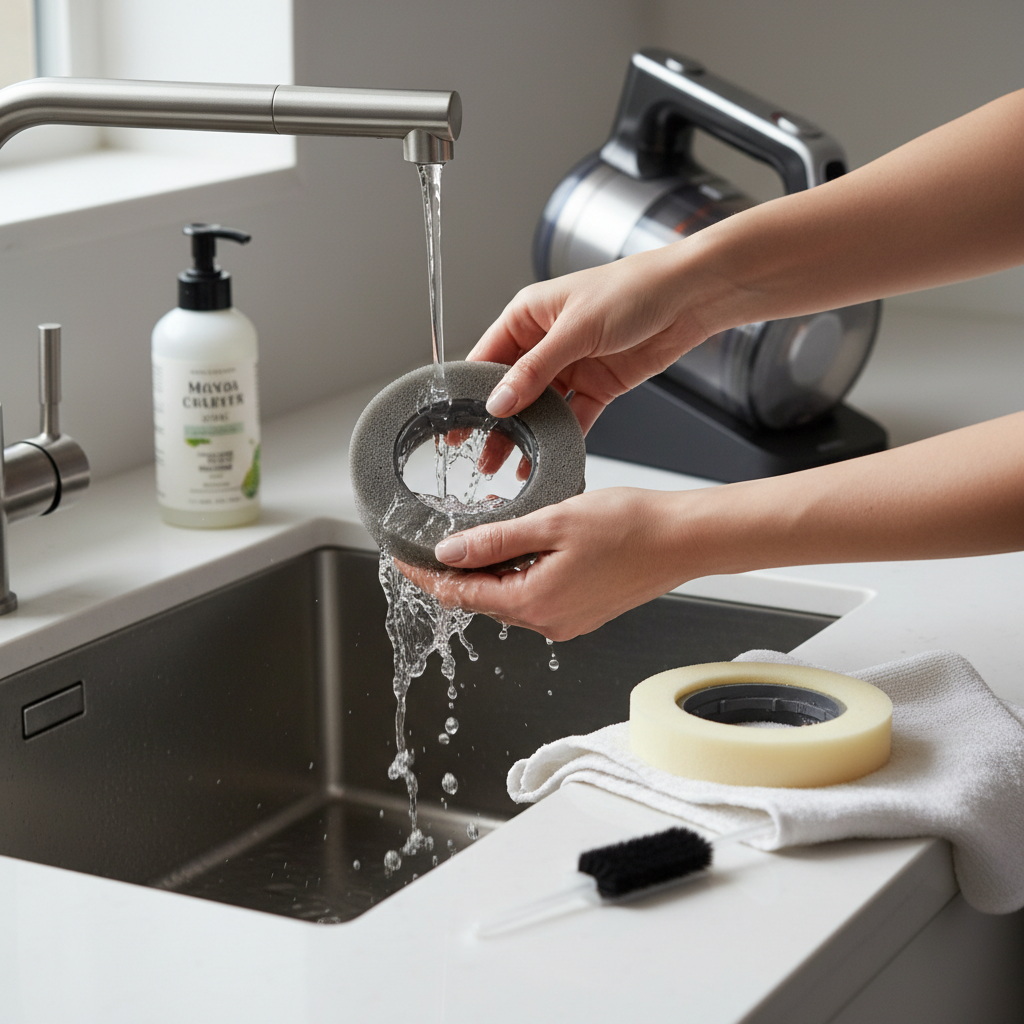
- Wash Gently: Submerge the foam filter in the soapy water. Gently squeeze and release the filter repeatedly. Imagine you’re squeezing a sponge, allowing the soapy water to flow through the pores and dislodge trapped dirt. Continue this process, replacing the water if it becomes excessively dirty, until the water runs clear when you squeeze the filter.
- Rinse Thoroughly: Once you’ve removed all visible dirt, rinse the filter under running lukewarm water. Continue squeezing the filter gently until all soap suds are gone and the water coming out is completely clear. This ensures no residue is left behind to impede airflow or cause odor.
“The key to a truly clean foam filter isn’t just washing, but rinsing until every trace of soap is gone. Residual soap can attract dust, making your cleaning efforts short-lived.” – Alex Chen, Lead Technician, ReviewerBil.com
Essential Tips for Drying Foam Filters
Proper drying is just as critical as proper washing. An improperly dried filter can lead to mold and mildew growth, unpleasant odors, and damage to your vacuum’s motor.
- Initial Water Removal: After rinsing, gently squeeze as much excess water out of the filter as possible. Be careful not to twist or wring the foam, as this can tear or distort its shape. You can also roll the filter in a clean microfiber towel to absorb additional moisture.
- Air Dry Completely: Place the filter on a drying rack in a well-ventilated area, away from direct sunlight or heat sources. Good airflow is essential.
- Patience is Key: Foam filters require ample time to dry completely. This typically takes at least 24 hours, and sometimes longer depending on humidity levels. It is absolutely crucial that the filter is 100% dry before you reinstall it into your vacuum. Even a slightly damp filter can foster mold growth and damage your appliance.
- What to Avoid: Never use a hairdryer, oven, microwave, or place the filter in direct sunlight to speed up the drying process. High heat can melt, warp, or degrade the foam material, rendering it ineffective.
When to Replace Your Foam Filter
While washable, foam filters do not last forever. Over time, the material can degrade, lose its elasticity, or become permanently discolored, even after thorough cleaning.
Here are signs it’s time for a replacement:
- Visible Damage: Tears, holes, or significant thinning of the foam.
- Persistent Odor: If an unpleasant smell remains even after washing and drying.
- Reduced Effectiveness: If your vacuum’s suction power remains low despite a clean, dry filter.
- Permanent Discoloration: If the filter retains a dark, dingy appearance that won’t wash out.
Most manufacturers recommend replacing foam filters every 3 to 6 months, depending on usage. Always refer to your vacuum’s manual for specific replacement schedules to ensure optimal performance and longevity of your appliance. An old, damaged filter can allow fine dust particles to bypass it, potentially harming your vacuum motor or diminishing indoor air quality.
Common Mistakes to Avoid When Cleaning Foam Filters
To ensure your foam filter remains effective and lasts as long as possible, steer clear of these common errors:
- Using Harsh Chemicals: Bleach, strong detergents, or abrasive cleaners can break down the foam’s structure, reducing its ability to filter effectively. Stick to mild soap.
- Twisting or Wringing: Aggressively twisting or wringing the filter can tear the foam, creating gaps where dirt can escape. Always use a gentle squeezing motion.
- Incomplete Drying: This is perhaps the most critical mistake. Reinstalling a damp filter can lead to mold, mildew, and a persistent musty smell. It can also introduce moisture into the vacuum’s motor, causing serious damage.
- Ignoring the Replacement Schedule: Even the cleanest foam filter has a finite lifespan. Overuse of an old filter will eventually compromise its filtering capabilities.
- Using a Dishwasher or Washing Machine: The high heat and harsh detergents in these appliances are too aggressive for delicate foam filters and can cause irreversible damage.
Conclusion
A clean foam filter is the silent guardian of your vacuum’s performance and your home’s air quality. By following this comprehensive guide for proper washing and meticulous drying, you can significantly extend the life of your foam filter and ensure your handheld vacuum continues to deliver powerful, efficient cleaning with every use. Remember, a little maintenance goes a long way in preserving your investment and keeping your living spaces fresh and dust-free. So, are you ready to give your vacuum’s foam filter the care it deserves and enjoy uninterrupted, pristine cleaning?
Frequently Asked Questions
How often should I clean my handheld vacuum’s foam filter?
|
Our Picks for the Best Handheld vacuum cleaner in 2026
As an Amazon Associate I earn from qualifying purchases.
|
||
| Num | Product | Action |
|---|---|---|
| 1 | KMM Handheld Car Vacuum Cleaner, 9000Pa Vacuum Cleaner and Air Duster, 120W High Power Hand Held Vacuum with LED Light and Multi-Nozzles for Car, Home, Office, Pet |

|
| 2 | MONOZEL Car Vacuum Portable Cordless, 18000Pa 2 in 1 Vacuum Cleaner&Air Duster, 130W Brushless Motor Handheld Vacuum Cordless with 7800mAh Battery, LED Light, Multi-Nozzles for Car, Home, Office, Pet |
|
| 3 | BLACK+DECKER dustbuster AdvancedClean Handheld Vacuum Cordless, Compact Home and Car Vacuum with Crevice Tool, Rotating Nozzle and Charging Station, Large Dust Bowl (CHV1410L) |
|
| 4 | BLACK+DECKER dustbuster Cordless Handheld Vacuum, Portable Vacuum for Car and Home Rechargeable, Powerful Suction, Wide Mouth (HHVI315JO42) |
|
| 5 | BLACK+DECKER dustbuster Cordless Handheld Vacuum, Portable Car Vacuum Cordless Rechargeable, Wall Mount, Strong Suction QuickClean (HNVC215B10) |
|
| 6 | Bissell Pet Hair Eraser Cordless Hand Vacuum, Lithium Ion, Home, Auto, and Pet Vacuum, Easy-Empty Dirt Bin, Upholstery Tool, Brush Tool, and Crevice Tool Included, 2390A |
|
| 7 | CKIKH Handheld Vacuum Cordless, 15000PA Strong Suction Hand Held Car Vacuum Cleaner Portable with Multi-Nozzles & Washable Filter, Lightweight Rechargeable Vacuum Cleaner for Home, Car, Office, Pets |
|
| 8 | Handheld Vacuum Cordless, Car Vacuums Powerful with Rechargeable Battery, Portable Hand Held Vacuum Cordless with Washable HEPA Filter, Mini Vacuums Kit for Men and Women |
|
| 9 | Handheld Vacuum Cleaner, 28000Pa Brushless Motor Cordless Car Vacuum Cleaner, 3-Speed Mini Hoovers with Multiple Brush Heads Hand Held Vacuum Cordless for Office, Home, Kitchen, Car, Pet Hair |
|
| 10 | Gxzsk Handheld Vacuum Cordless, 15000PA Strong Suction Hand Held Car Vacuum Cleaner Rechargeable, Portable Hand Vacuum with Multi-Nozzles & Washable Filter for Home Office, Car, Pets |
|
For optimal performance, clean your foam filter monthly if you use your vacuum frequently or live in a dusty environment. Otherwise, cleaning it at least every three months is generally sufficient to maintain suction and air quality.
Can I use any type of soap to wash my foam vacuum filter?
It is best to use a mild dish soap or an all-purpose cleaner. Avoid harsh chemicals, bleach, or abrasive cleaning agents, as these can degrade the foam material and compromise the filter’s effectiveness.
How long does it typically take for a foam filter to dry completely?
A foam filter needs to air dry thoroughly, which usually takes a minimum of 24 hours. Ensure it is completely dry before reinstalling to prevent mold growth and maintain your vacuum’s efficiency.
What happens if I put a damp foam filter back into my vacuum?
Reinstalling a damp filter can lead to mold and mildew growth within your vacuum, resulting in unpleasant odors and potentially damaging the motor. Always ensure the filter is 100% dry to avoid these issues.